You’ve certainly seen primer sitting next to the paint in the store. If you haven’t done much painting, then you may be curious as to what primer does. If you know what the word “prime” means, you can deduce what exactly primer is. Primer is used to prepare the surface for the coat of paint that comes after.
Primer is not always necessary for paint projects. The use of primers should be evaluated on a handful of factors. You should also check to see if you are using the right type of primer for the job. Using the wrong kind of primer can lead to issues with the final coat of paint. To avoid starting over, choose the right primer by knowing everything about primer.
When to Use Primer
There are a handful of situations in which you should use a primer before jumping into the first coat of paint. Follow these rules in order to get the best results after the paint has dried.
- Damaged or Stained Walls: Do your walls have stains? You may have water damage stains or patches of discoloration. A coat of primer will help keep these colors from popping through the coat of paint. Some primers are built explicitly for stains, so look around for options. The last thing you want is a stain showing through a lighter color.
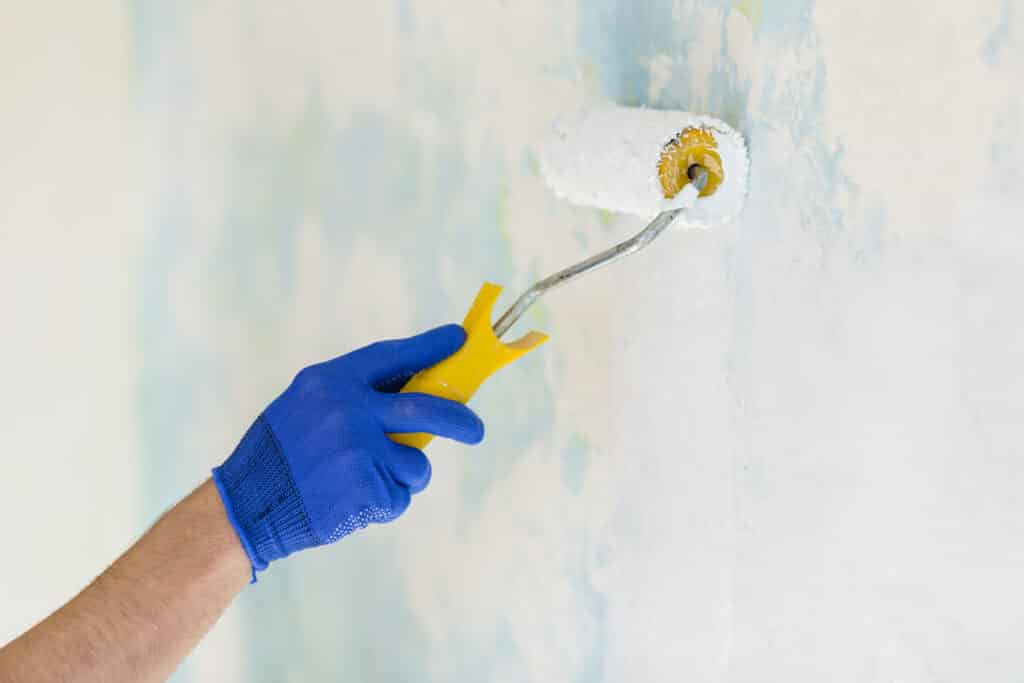
- Fresh Surface: New surfaces of all types (wood, drywall, metal, etc.) should receive a coat of primer. Since these surfaces are new, they’ll soak up more paint. Primer helps the paint pop more, and it takes fewer coats.
- Painting Over Dark Colors: Painting over a deep red with a sunflower yellow would be extremely difficult. It will take you days to get a solid coat of yellow. Instead of spending so much time on the paint, save time (and money!) by laying down a coat of primer first.
- Wallpaper: Are you replacing that ugly wallpaper with a modern coat of paint? You can either paint over the wallpaper or remove it and cover the walls with paint. In any case, the surface is going to be rough, which will make your paint look less than gorgeous.
- Painting Over Glossy Surface: A glossy surface from a previous paint job or the material itself will require a primer. By merely painting onto the surface, the new coat of paint is unable to grab onto the surface as well, requiring more coats of paint.
- Changing Paint Types: Are you painting over latex paint with oil-based paints? Be sure to prime your surface before making the switch. If you aren’t sure what the current paint is then prime the surface just in case.
Types of Primers
There are three types of primers: oil-based, latex, and shellac. Each type of primer has its own benefits and drawbacks. In addition, these primers are best suited for specific materials and purposes. By learning more about each, you can find the right primer for your next project.
Oil-Based Primer
As a popular choice for primer, oil-based primer helps homeowners lay a strong foundation for their latex or oil-based paint. It also assists in covering up stains. That way, your paint job is not diminished by unsightly color changes. If you are painting something that will be exposed to the elements, oil-based primers are great choices because they respond to temperature changes really well. Unfortunately, oil-based primers take a full 24 hours to dry. Furthermore, oil-based primers contain a high level of volatile organic compounds (VOC), known to impact indoor air quality.
Pros
- covers and prevents stains
- withstands high-contact areas
- adapts to temperature changes
Cons
- 24-hour dry time
- difficult to clean
- high amount of COVs
- disposal process
Latex Primer
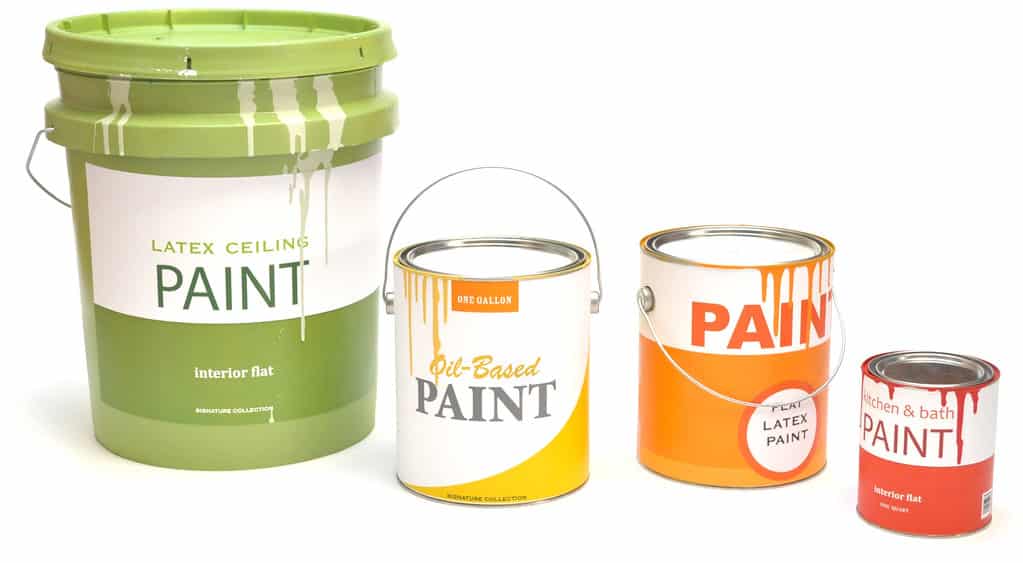
Latex primer is a healthier alternative to oil-based primers because of its water base. Unlike oil-based primers, it can be applied to masonry and softwood. Of course, you can apply latex primer to almost every other surface too. Plus, the dry time is shorter, coming in at about three or four hours. The biggest drawback of latex primer is it’s susceptible to stains. If you want to cover stains or you are priming an area that might see stains often, latex is not the best choice.
Pros
- 3-4 hour dry time
- applicable to many surfaces
- contains almost no VOCs
- easy to clean
Cons
- capable of staining
- requires testing on wood grain
Shellac Primer
Shellac primer is known to be the go-to primer for interior projects. It has been used for hundreds of years and continues to reign supreme when it comes to a primer choice. A big benefit of shellac primer is its ability to seal surfaces. You can seal the surface your planning to paint in less than an hour because that is how long it takes for it to dry. Unlike latex primer, shellac is excellent at covering up stains.
When it comes to drawbacks, shellac primer has a few. The biggest drawback is the larger amount of VOCs. However, with the many other benefits, many overlook the VOC count. You should also know shellac primer does give off a significant amount of fumes. Ensure the room or object you are priming is appropriately ventilated.
Pros
- drys within an hour
- covers and blocks stains
- perfect for many different surfaces
Cons
- larger amount of VOCs
- fumes require proper ventilation
- requires thinning
Preparing the Surface for Primer
Now that you know the type of primer you need, you should prepare the surface before you start slathering it. The length of preparation for the surface depends on the materials and location. For example, if you’re painting an external surface, then watch the weather closely. Types of temperatures and humidity can affect how primer and paint react to a surface.
Here are the steps you need to take before priming and painting a surface.
- Begin by washing the surface. Exterior surfaces can be cleaned with a pressure washer or a garden hose. Remove chipped and cracked paint, dirt, and other forms of debris. Interior surfaces can be cleaned with sandpaper, a washcloth, or sponge. The type of surface really determines the cleaning process.
- Look for damage on the surface. Drywall may have dents or holes. Metal may be rusted or cracked. Wood could have chips or rotten areas. The damage needs to be repaired before moving forward.
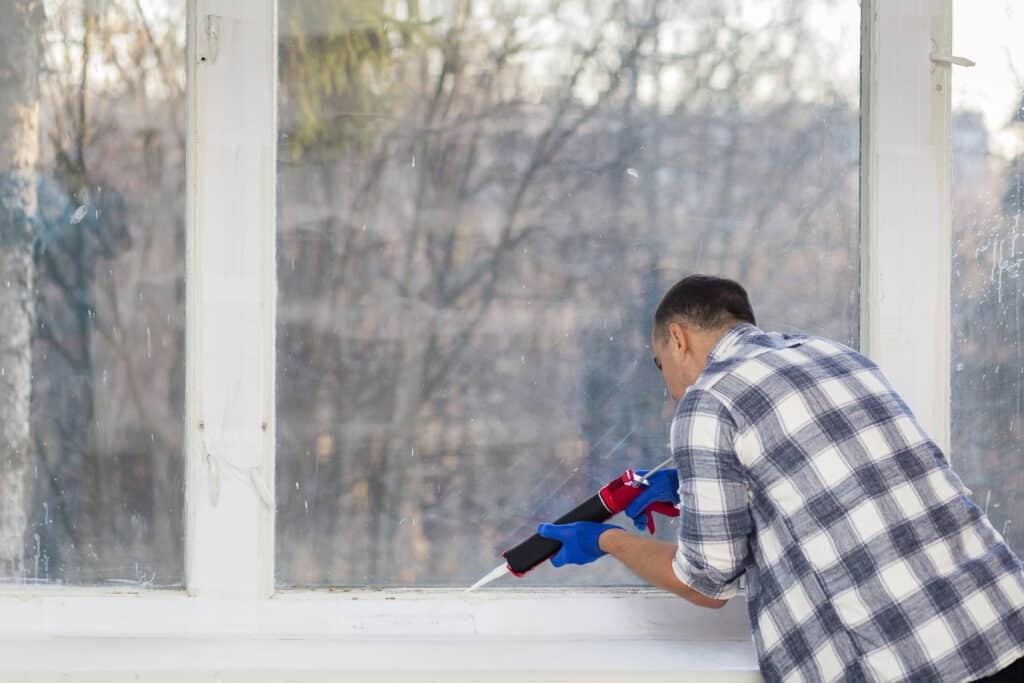
- Examine nearby features such as windows, doors, and vents. Oftentimes these areas have caulking and seals around the edges. Before applying the primer or paint, it is an excellent opportunity to reseal and recaulk these areas.
- The last step before the priming and painting phase is to cover everything you don’t want to be painted. Use tarps and drop cloths to protect plants, lights, decorations, windows, doors, and anything else you want to preserve.
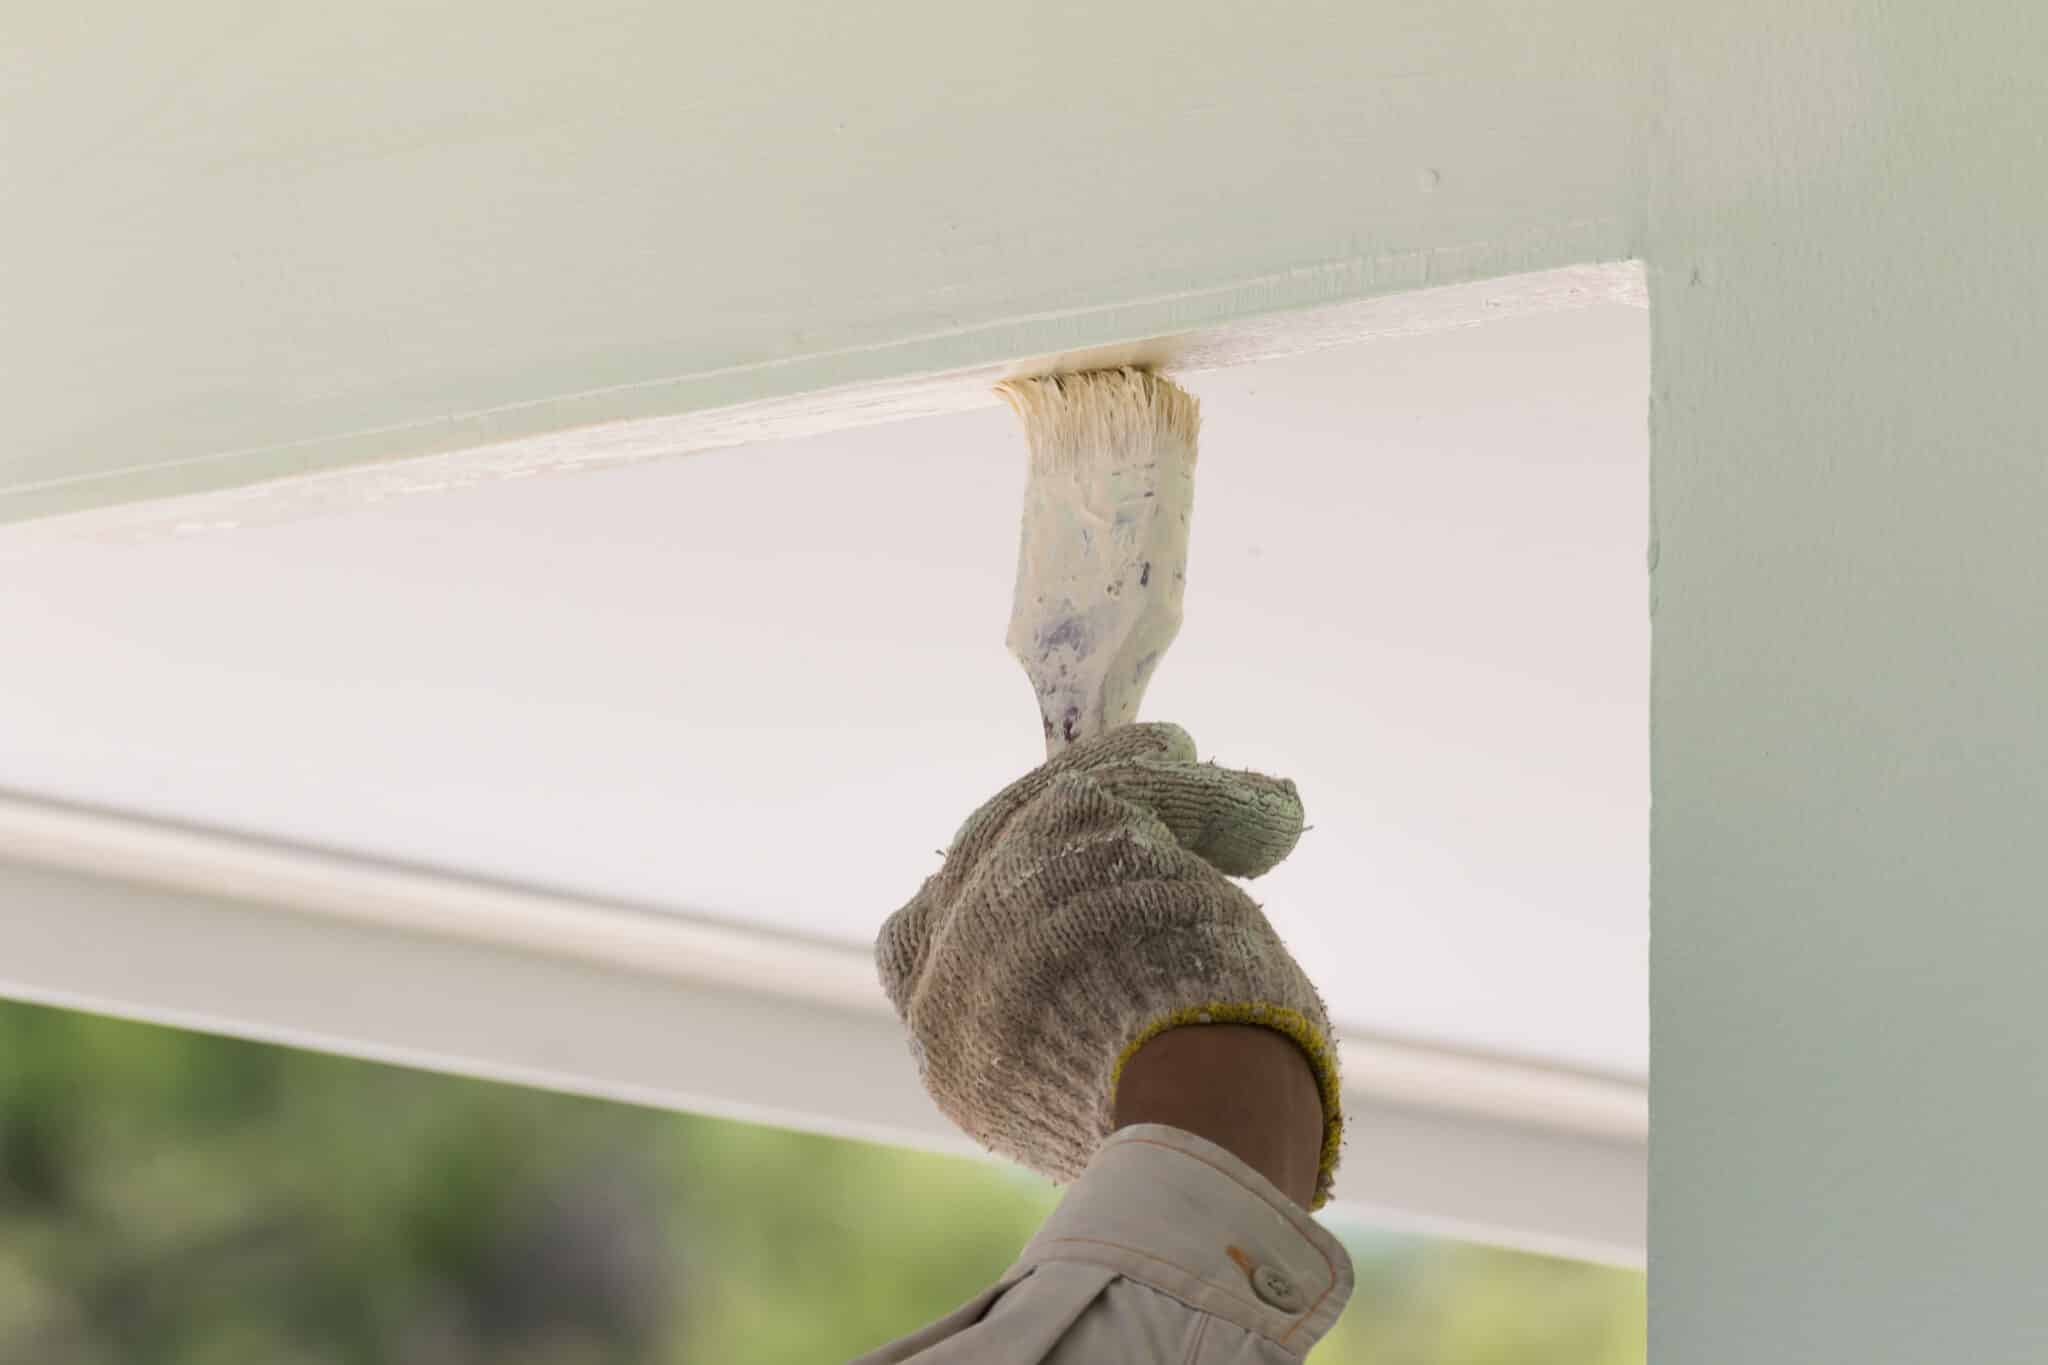
- Finally, start the priming process. Get in all the nook and crannies that you can. For many, a single coat is fine, but some may want to apply more.
Choosing the Right Primer
The information we have given you should be enough to select the right type of primer. Overall, the type of paint and the surface you are painting are key indicators in the primer choice. Go to your local hardware store for the right primer and ask an associate for assistance if you still aren’t sure. When it comes to painting the exterior of your home, contact Golden City Remodeling. Our house painting services are unmatched by DIYers and other remodeling companies. Contact us today for a free consultation or more details.